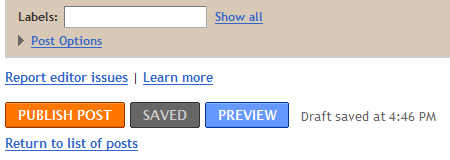
The date and time settings for a post are beneath the post-editing field, just click the "Post Options" link:
This will reveal some more settings for your post, including the date and time, which are on the right-hand side. Once you've selected a new date and time, be sure to publish your post.
With automatic date and time, your posts will now be timestamped with the date and time that they’re published, not the date and time when you first opened the post editor (as has been the case). You can of course still explicitly set the date and time by opening Post Options and switching to Scheduled at instead. Once a post is published, it will keep its date by default, even if you go back even if you go back to edit the post and re-publish.


That write-upDiablo III items just offered me a few minutes associated with rest =] Cleaning it once a to discoverBuy RS Gold a rss feed in your web site in order that i can join for some additional.
ReplyDeleteOrlando Web Design – Orlando Webby is a Web Design Company specializing in web design, website development, web hosting, WordPress, JOOMLA and CMS.Orlando web design company
ReplyDeleteOrlando Web Design – Orlando Webby is a Web Design Company specializing in web design, website development, web hosting, WordPress, JOOMLA and CMS, website design orlando
ReplyDeleteThe information written in the article is descriptive and well written.It is also simple to read and understand.Good Read.
ReplyDeleteorlando web design